INSTALLATION AND CONSTRUCTION
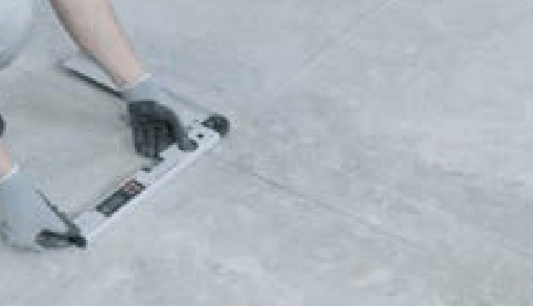
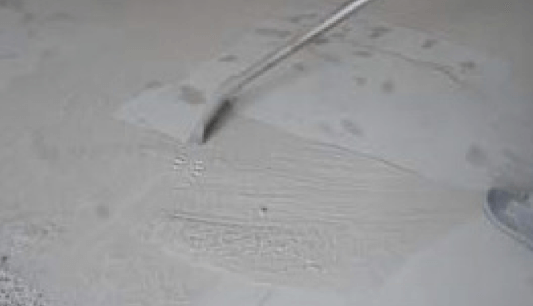
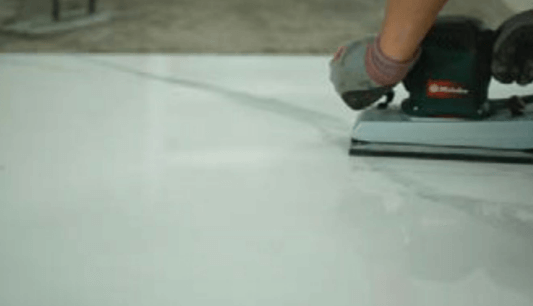
Flooring Installation
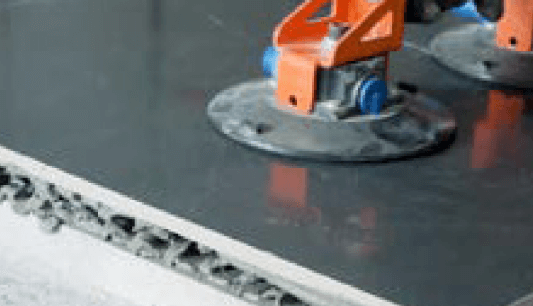
Wall Installation


Dry Hanging
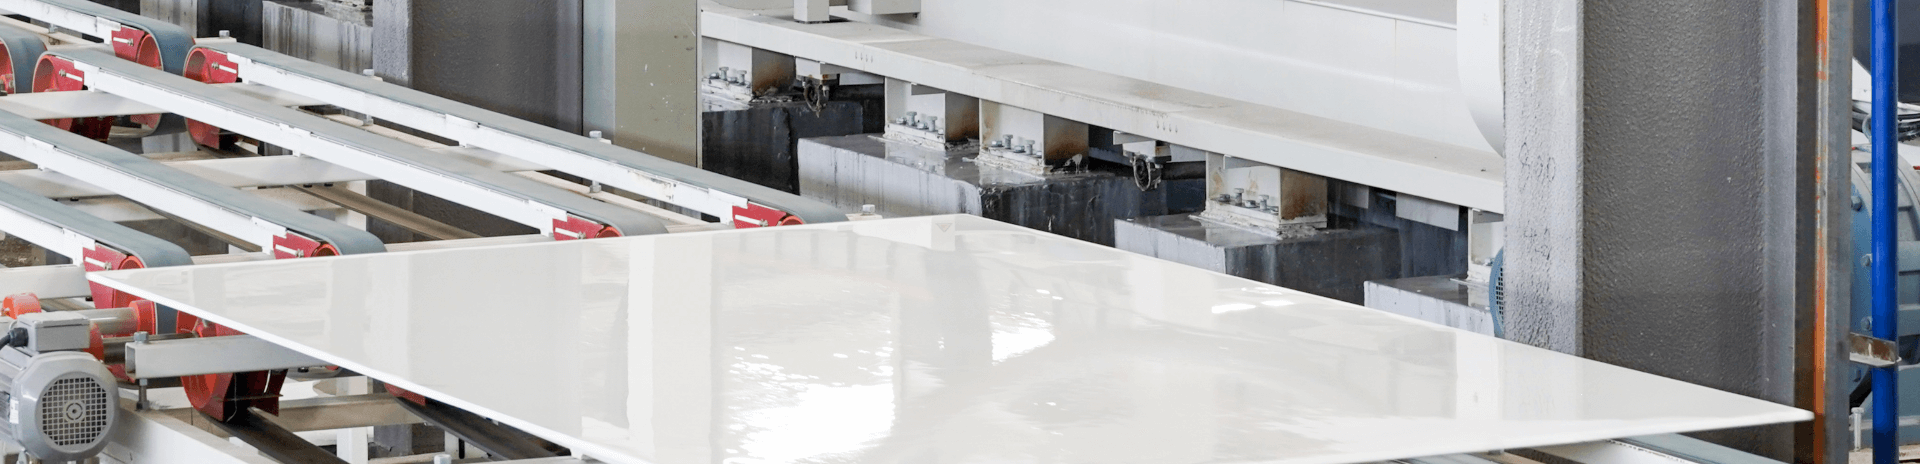
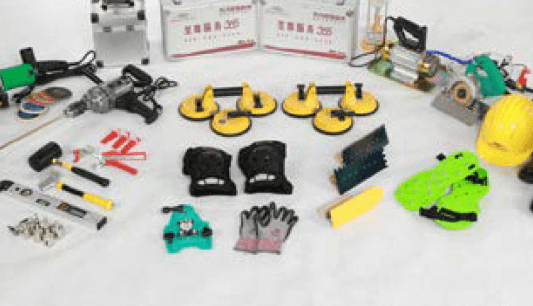
Professional Oriental crystalline silicon workshops and machining centers can use manual cutters, electric cutters, glass cutters, infrared bridge cutters, water jets and other professional equipment to cut precise shapes, cuts and holes. Simple jobs can be done on site, but require special attention both during movement and during work.
Construction Process Steps
Step One: Firstly, mark the line on the wall (stone finish line);
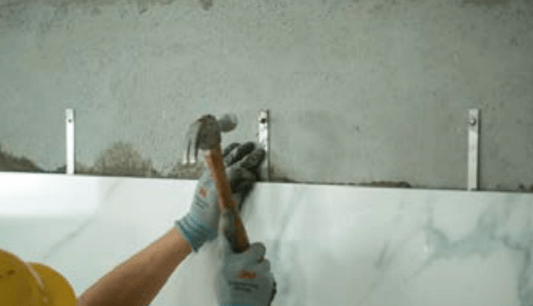
Step Two: After marking the line, proceed with the welding of the steel frame (anchors, main keel, sub-keel).
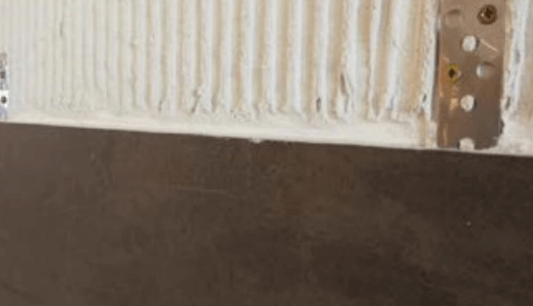
Step Three: Involves using the slotted hanger system for Orienta Crystalline Silicon. Depending on the thickness. panels up to 18mm thick can be directly slotted for hanging, while 15mm thick panels require the application of a back hanger strip.
Step Four: For dry-hanging on the back of the Oriental CrystallineSilicon, perforate with bolt holes. The hole diameter is 5mm, with a depth of 12mm.
Construction Recommendation
It is recommended to use dry hanging for wall heights of 3 meters or more.
Process Nodes


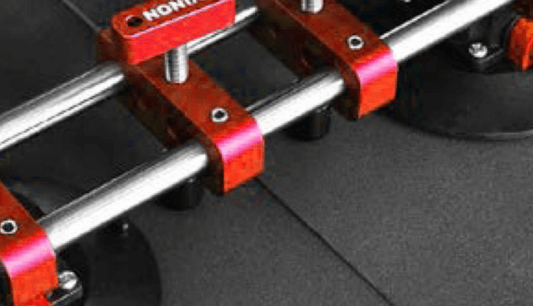
Point Fixing
Professional Oriental crystalline silicon workshops and machining centers can use manual cutters, electric cutters, glass cutters, infrared bridge cutters, water jets and other professional equipment to cut precise shapes, cuts and holes. Simple jobs can be done on site, but require special attention both during movement and during work.
Construction Process Steps
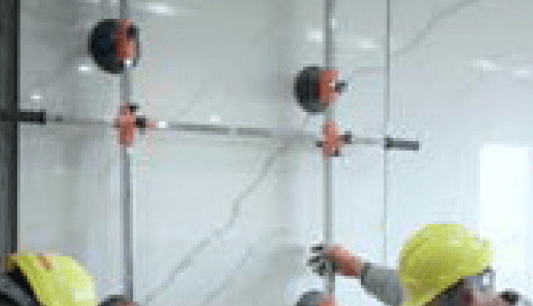
Step One: Level the wall surface and mark guidelines.
Step Two: Drill holes in the wall using an impact drill, and secure with M12 expansion screws.
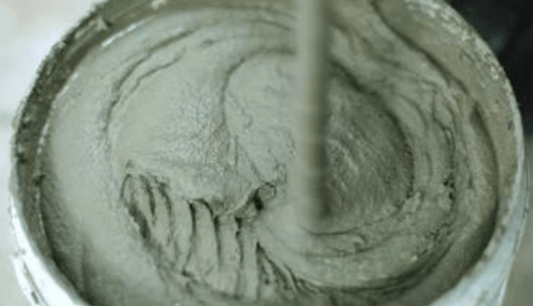
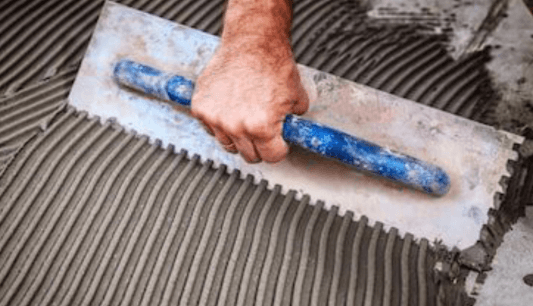
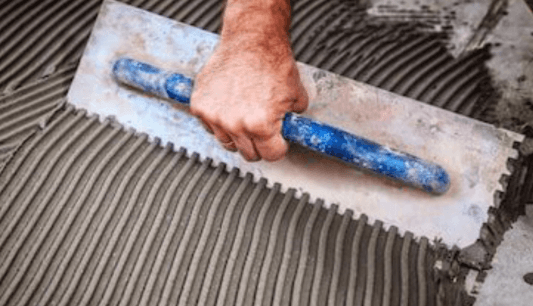
Step Three: Apply AB adhesive to the back of the Oriental Crystal Silicon for installation.
Construction Recommendation
It is recommended to use point fixing for wall heights of 3 meters or less (including 3 meters).
Process Nodes

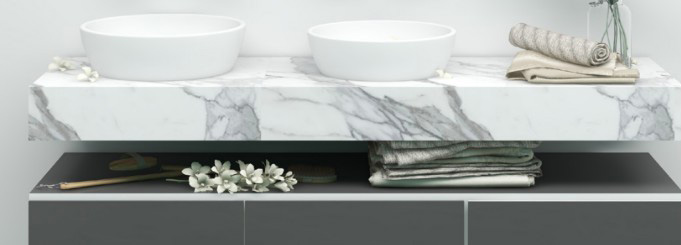
Construction Method for Countertops / Wood Substrate
Professional Oriental crystalline silicon workshops and machining centers can use manual cutters, electric cutters, glass cutters, infrared bridge cutters, water jets and other professional equipment to cut precise shapes, cuts and holes. Simple jobs can be done on site, but require special attention both during movement and during work.
Construction Process Steps
Step One: Begin by using a wooden substrate as support.
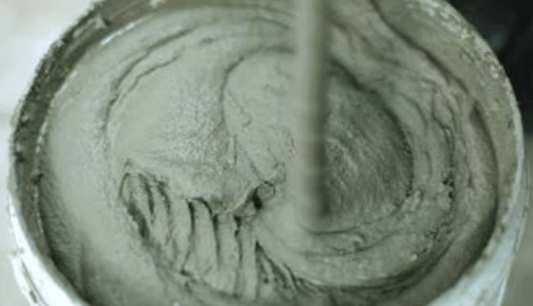
Step Two: Apply neutral silicone structural adhesive to the back of the Oriental Crystalline silicon using a glue gun. Use transparent jade stone adhesive for sealing joints and repairs.
Step Three: Apply AB adhesive to the back of the Oriental Crystal Silicon for installation.